Graphite Paper
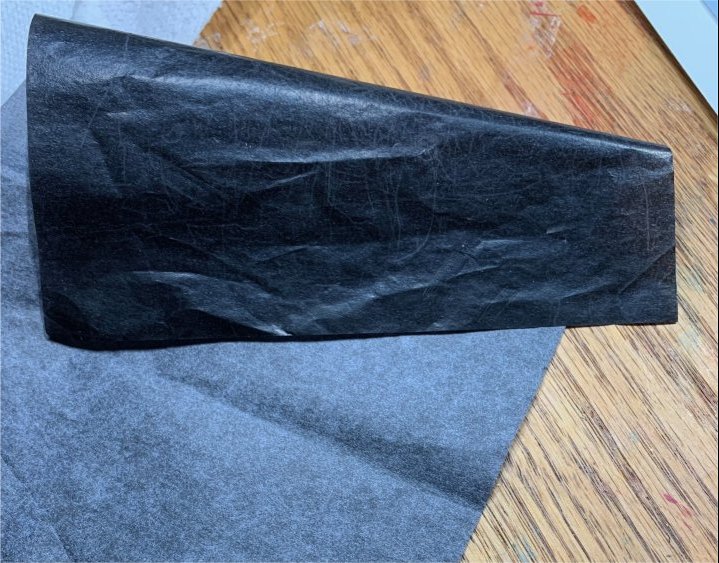
Graphite paper, also known as carbon transfer paper, is a great tool for transferring subject matter to watercolor paper. This paper has a shiny black film of graphite on one side, and a waxy, matte surface on the opposite side. When you place it shiny side down between two sheets of paper, you can trace a drawing on the top sheet, and it will leave an imprint of graphite on the bottom sheet. Hence, it’s a great tool for getting an accurate image onto watercolor paper for a painting.
I use it to transfer photos, as my goal is to paint, and I tend to fuss when drawing. Since watercolor paper won’t take a lot of erasing, it doesn't make sense to draw right on expensive watercolor paper.
If you like to draw, you can draw out your image on sketch paper and then use the graphite paper to transfer the image to the watercolor paper.
How to Use Graphite Paper
Here’s how to transfer a drawing or photo to watercolor paper.
- Have your drawing on correctly sized printed photograph subject ready.
- Working on a stiff, flat surface, tape your drawing or printed photo and your watercolor paper together on the top edge, to be sure neither shifts or moves during the transfer. Since you can’t see the graphite impression from the carbon transfer side until you lift the picture/graphite stack, it’s really important to make sure the subject sheet and the watercolor paper are taped or stapled together securely so they don’t get out of sync.
- Lay the graphite paper shiny side down in between the top subject sheet and your watercolor paper. Now you have a stack of three sheets, as in the picture below.
- Once you start drawing, make sure the sheets do not move out of place.
- Trace the drawing or photograph to the depth of detail you feel is necessary. If I’m doing an animal painting, I pay special attention to the eye and mouth areas so that I can capture the personality of the animal.
Note that I tape the top edge so I can lift the top sheet and graphite
paper to look at the drawn image before I take the whole set apart, especially
if I’ve been interrupted during the tracing phase.
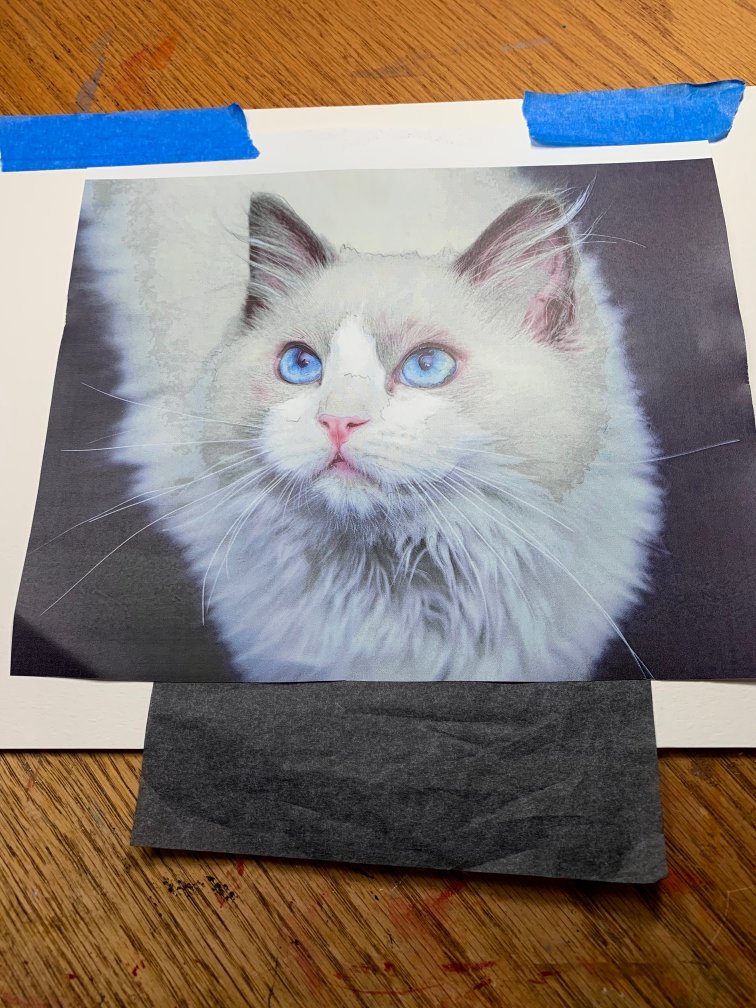 watercolor paper with graphite paper and then subject photo on top.
Smudging and Pressure
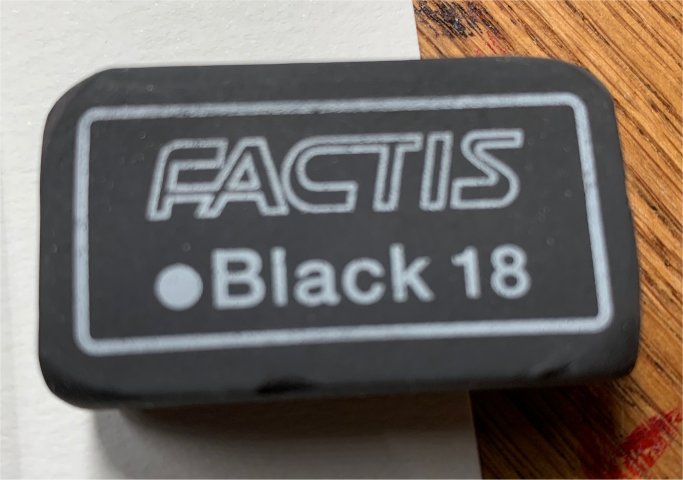
Now for the cons..it is very easy to create unwanted graphite paper smudges on watercolor paper. Worse, it’s hard to get the graphite off once you’ve laid it down.
I’ve found this black eraser can remove some of it, and poster tack or a kneaded erasers works too, but realistically, you just can't get that stuff off. It’s just better not to smudge it in the first place.
To minimize smudging, pay attention to where your hand is resting when you are tracing. I’ve found that If I cut the graphite paper to the size of the subject so that the part where my hand will rest is not over the graphite paper, it makes it easier to avoid smudges.
In
addition, I also pay attention to my tracing pencil pressure. I go lightly on the pressure of my drawing lines, especially if I plan to remove them after I am done painting.
Buying Graphite Paper
You can buy small (one or two sheets) packages at your local art store, but I find multiple page packs of different sizes much cheaper online. I bought a pack on Amazon of 100 sheets of 11x13, and since you can reuse graphite paper many times, that pack will last me forever.
You can also buy rolls of graphite paper if you plan to do
really large paintings.
Alternatives to Graphite Paper
If you don't want to use graphite paper, there are other ways to transfer a drawing or photo to watercolor paper. You can use the side of a soft pencil lead (i.e, an HB) to lay down a layer of graphite on the back of your drawing or photo and then lay that side down on your watercolor paper and trace.
You can also use a light table. A light table shines a bright light up through your drawing from below, so that you can trace the image right onto your watercolor paper without the need for graphite.
If you don’t want to buy a light table, and you have glass table around your house, you can put a small strong lamp underneath the glass table and simulate the same process.
Or if you know a handy-person who will do you
a favor, have them make a light box for you. Lots of videos on youtube for that.
