Watercolor Techniques
Watercolor techniques are rooted in the certainty that paint applied to watercolor paper will follow any path that has already been created by water.
If you touch a wet brush loaded with paint to dry watercolor paper, you'll only see paint where the brush touched. No paint will flow where the paper is dry.
But if the paper is wet, paint will diffuse into the wet area until it reaches an edge where water stops. In fact, here's a little experiment you can do to see this effect:
- Mix up a little blue or red paint you want in a 90/10 consistency. That’s about 90 percent water to 10 percent paint. This is a “weak tea” mixture.
- Then using a wet round brush and with just clean water (no paint), write your name on a piece of watercolor paper, making sure the letters are nice and wet. You may have to tilt the paper to see where it is wet.
- Now touch your brush tip to the paint mixture and then touch the paint to the letters in your name. See how the color starts to spread immediately?
- If you gently tilt the paper, it will continue to spread where the paper is wet. Notice that the color does not spread on its own to areas of dry paper.
This paint-follows-water factor is why it’s important to let a layer of watercolor paint dry thoroughly before you apply a new one, otherwise the layers of color will run together, or you'll disturb the previous smooth layer and have to fix it. (By the way this technique of successfully painting a new wet layer over a dry layer without disturbing the dry layer of paint is called glazing.)
So now that you understand the paint-follows-water idea, let's talk about the paint-to-water ratio, another important factor in learning watercolor techniques.
Paint to Water Ratio Technique
One of the most helpful things I learned when I started (thank you, Rebecca Rhodes) was the ratio of water to paint in mixing colors.
Basically, you use varying amounts of water and paint to set the color value or intensity of the paint on the paper. For instance, if you want a lighter color, you would use more water and less paint. As more water is blended in, the paint pigment becomes more diluted, and when this diluted mix is applied to watercolor paper, it leaves a "lighter" wash of color. Note that once the paint dries, it will be even lighter.
In contrast, if less water is added to the paint, the color will be more intense on the paper. To describe paint mixes, some artists use a percentage ratio. Animal artist Rebecca Rhodes compares the results of various ratios to common liquids like tea and cream. I found that helpful.
- For thin washes, there is more water to very little paint, with the end result being the consistency of weak tea. In terms of numbers, this is probably about a 90/10 combination, where the mixture is 90 percent water and 10 percent paint.
- For a more intense color, add a little more paint to the water, so that the consistency is like half and half or light cream, or is about an 80/20 combination (80 percent water to 20 percent paint).
- For deeper, richer color on the paper, add more paint to the water, so that you get a consistency of heavy cream, maybe a 50/50 percent combination.
- Finally, you can use the color straight from the tube, for the brightest, most intense value of 100 percent paint.
Basic Watercolor Techniques
Now that we've discussed the important "paint follows water" and "paint to water ratios", here are some additional basic watercolor techniques:
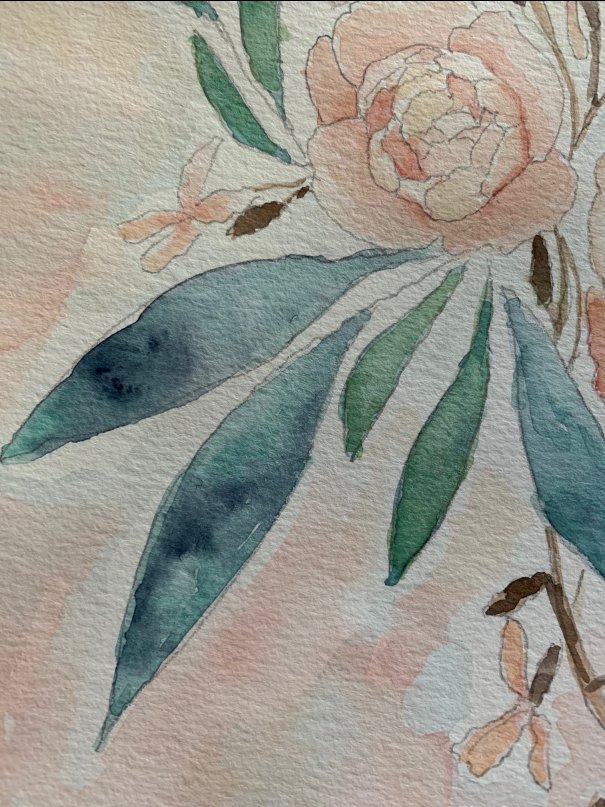
Wet on wet: this is the application of a watery paint mixture to wet paper with a wet brush. This is very effective for doing large washes of color that are smooth and uniform and one of the most commonly used watercolor techniques.
It also allows you to mix color right on the paper for some very nice results. The larger leaves in this practice painting I did are a mixture of viridian and indigo blue.
I wet the leaf first with clear water, and then I just touched in the color and let it spread organically. The drawing is from a great watercolor book called Modern Watercolor Botanicals by Sarah Simon.
|
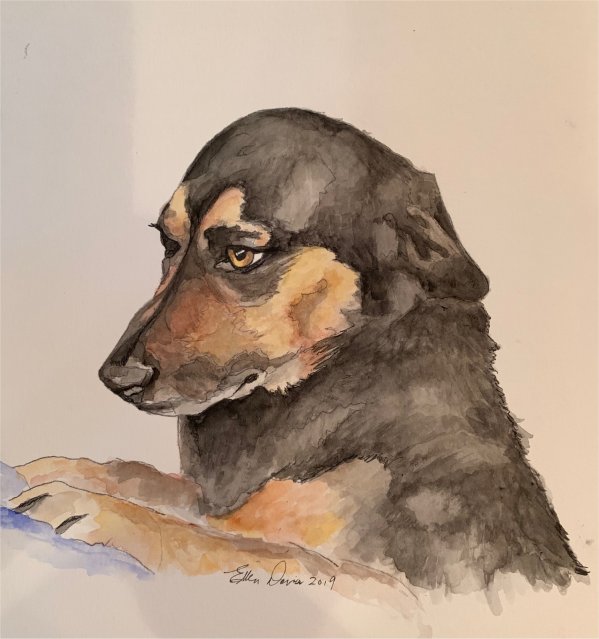
Wet on dry: this is the application of a paint mixture with a wet brush to dry paper. If you use this technique on a large wash area, the results will be less uniform. This the watercolor technique I use most in painting animals, as it gives me good control over the painting process. This little dog is named Maise. I started this painting with a wet brush on dry paper, letting each layer dry before I added more color. |
 |
|
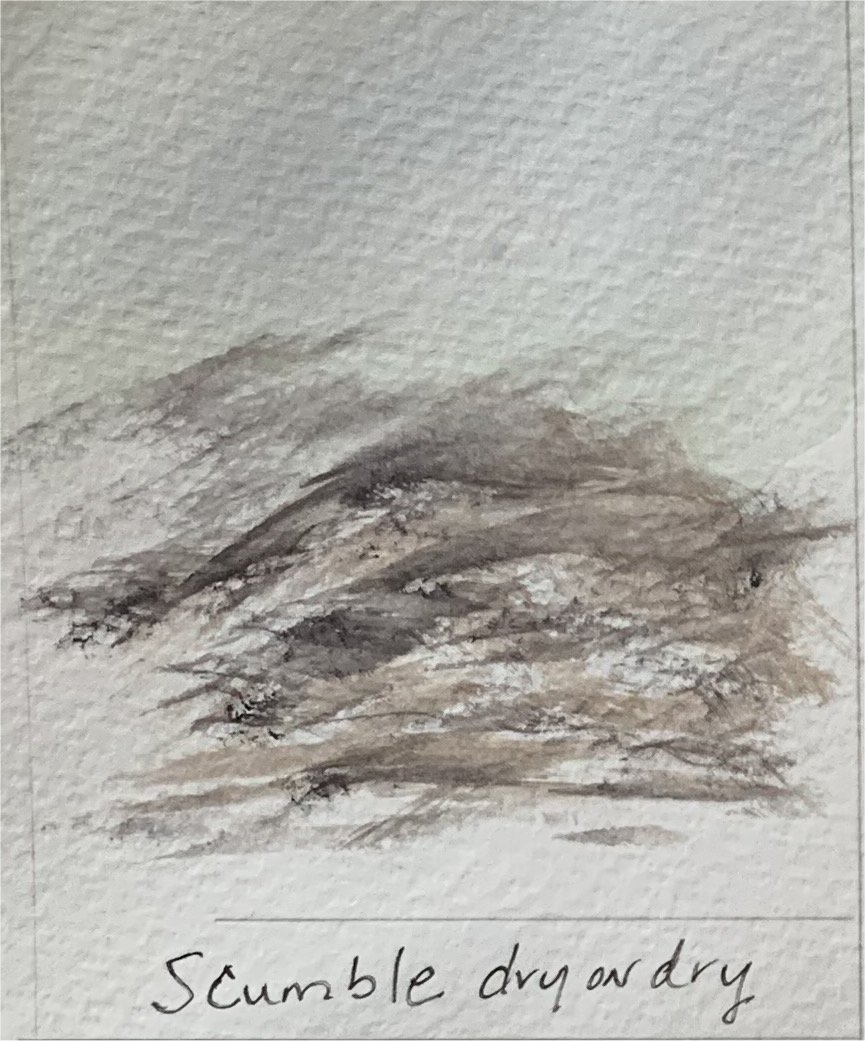
Dry on dry: the application of almost dry paint with a dry brush on dry paper. This technique works well when you want a “scumbled” look, like rough brush or rocks in a landscape. The texture of the paper picks up just bits of the paint and the result has some nice white spots within the darker colors. |
 |
Washes
I will freely admit that I find washes difficult, and I shy away from landscape paintings for that reason. Hence, my washes aren't all that pretty, but I hope you get the ideas I'm trying to communicate.
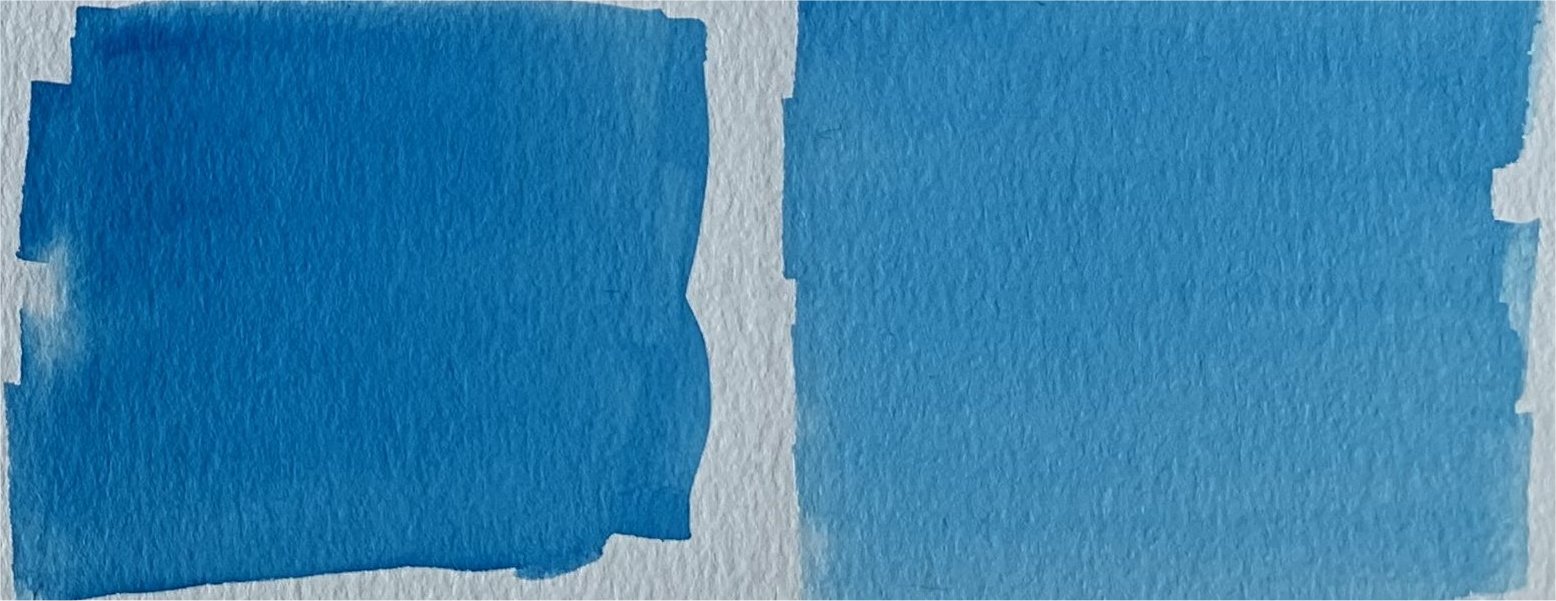
Uniform or flat wash: You can do these with a wet-on-wet or wet-on-dry technique. On the left, I wet the paper first, then laid in the color evenly with a flat brush. On the right, I just loaded up a flat brush with diluted paint and brushed it on dry paper.
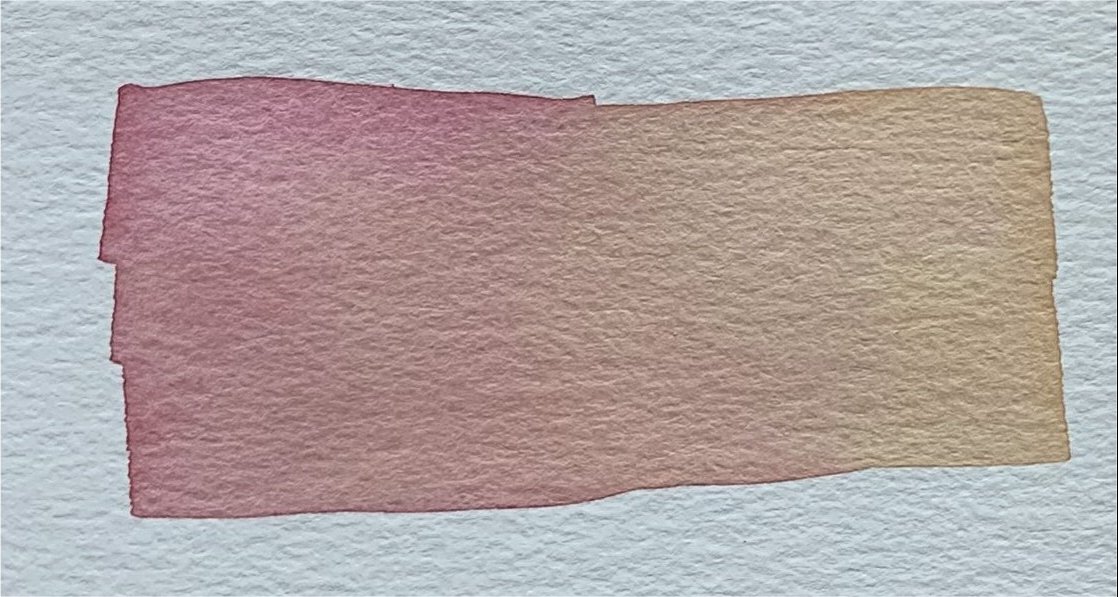
Gradient wash (2 colors): You can blend two colors by starting each at one end of the area you are painting and bringing them together to blend in the middle.
Using Gravity to Help with Washes
Many artists will set up their painting surface at an angle to allow gravity to facilitate washes. Here's a great video of Australian watercolor artist Joseph Zbukvic painting almost vertically. He mentions that the washes "paint themselves". He starts painting at about 10:15. Amazing!
Other Techniques
Blotting
|
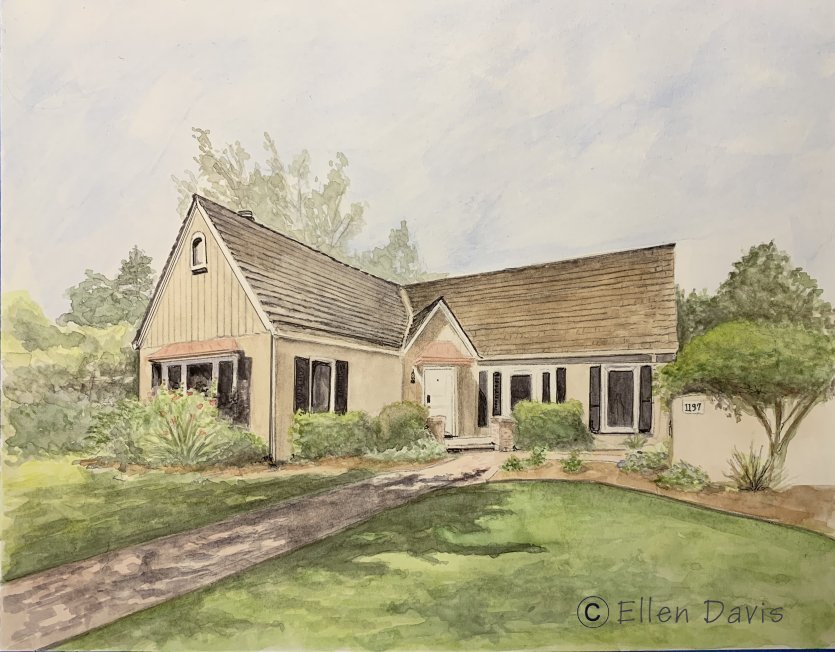
Use paper towels or pieces of dry sponge to blot wet paint for a nice cloud effect. I used a paper towel to get the cloud sky effect in this house painting. I've seen wedges of sponge used to get some cool stone and tree effects. |
 |
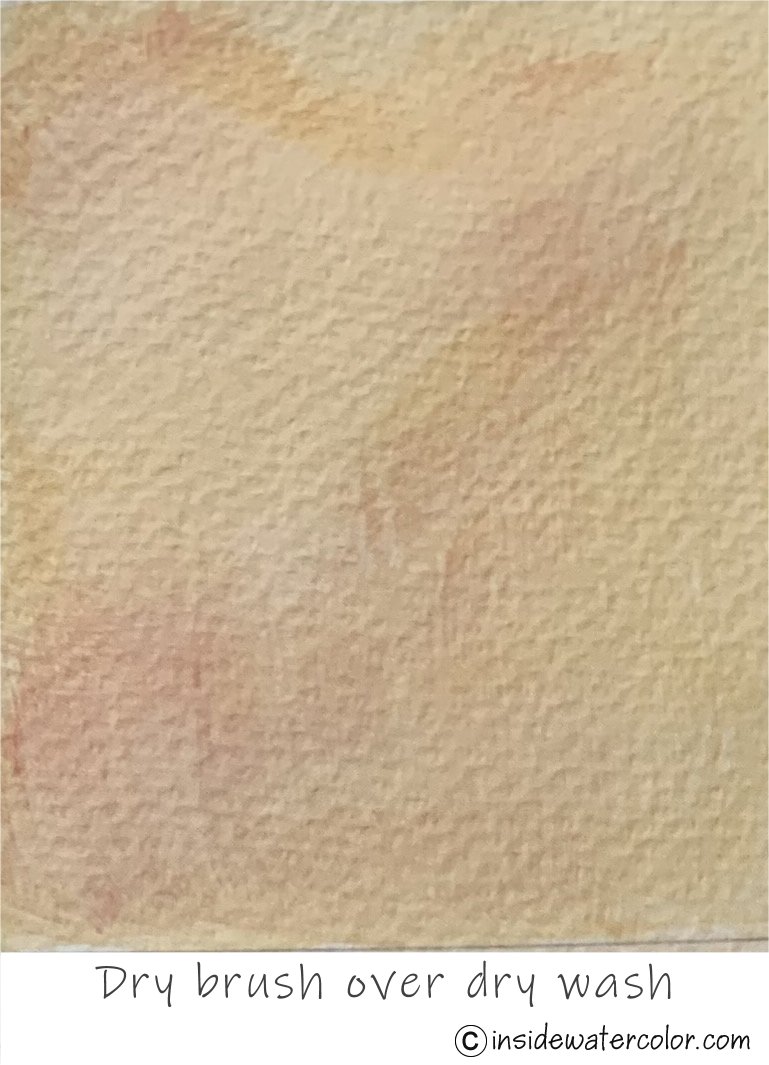
Dry paint over a previous wash
|
In this watercolor technique, a wash layer of color is created first and allowed to dry. Then, you use a dry or damp brush with varying consistencies of paint over it to get some neat effects. I used a fan brush to make the background more interesting in this example picture. |
 |
I hope you find these watercolor techniques helpful. There are more! Let's look a neat watercolor tutorial on lifting paint I put together for you.
I'll add more tutorial pages with additional techniques as time goes on, so check back often.
